When you’re setting up your Etch packet, you can choose to fill fields with existing information or assign them to signers to complete.
This article will focus on how to fill your Etch packet with existing and new information.
Getting started
Before you can start pre-filling and/or assigning fields to be filled by signers, you’ll need to first set up an Etch packet and add signers.
If you’ve never set up an Etch packet before, we highly recommend starting with a document template. Once your document template is set up, you can create a new Etch packet with your template and add your signers.
It’s also important to note that each filled field must be configured individually and it’s not possible to configure multiple fields at once. You can however streamline the signing experience for your signer by leveraging field aliases. We’ll go into more detail about this in the interactive signing section.
Pre-fill fields
If you already have some information on hand, you can pre-fill your document prior to sending it to signers to collect signatures (your company’s address, a contract start and end date, for example). You can even pre-fill fields that correspond with your signers’ names and email addresses.
Pre-filling standard fields
Standard field types include any field that is not a signature field. Signature fields are used to collect signatures or associated with signatures (e.g. signature, initial, and signature date type fields).
For a full list of our supported field types, please see our glossary.
To pre-fill standard fields:
- Navigate to your Etch packet
- Select the field you wish to fill

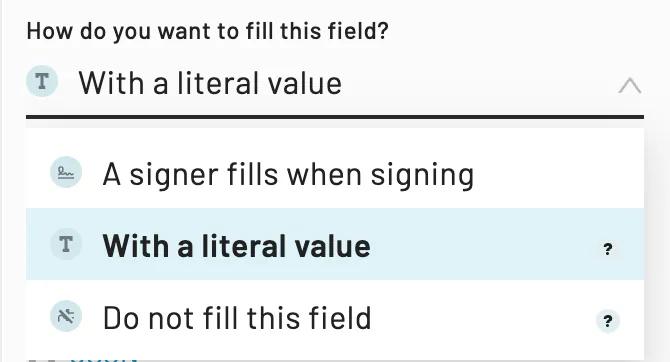
- Click the dropdown menu under How do you want to fill this field?
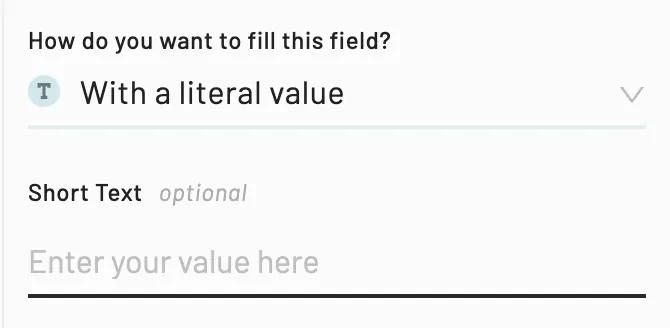
- Select With a literal value from the dropdown menu
- Enter information by either typing it in or selecting the relevant option
Pre-filling signer name and email type fields
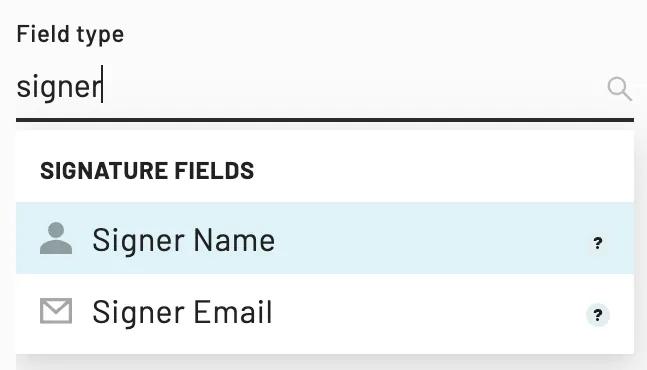
While name and email fields are also standard fields, Etch packets support two unique field types: Signer Name and Signer Email. Both these field types will automatically populate a signer’s name/email when they are connected to a signer.
This allows you to pre-fill these types of fields faster, rather than having to individually fill each of these fields yourself, or ask a signer to provide the same information that you already have on hand.
To pre-fill signer name and email type fields:
- Navigate to your Etch packet
- Select the name or email field you wish to fill

- Choose the relevant option from the Field Type dropdown menu
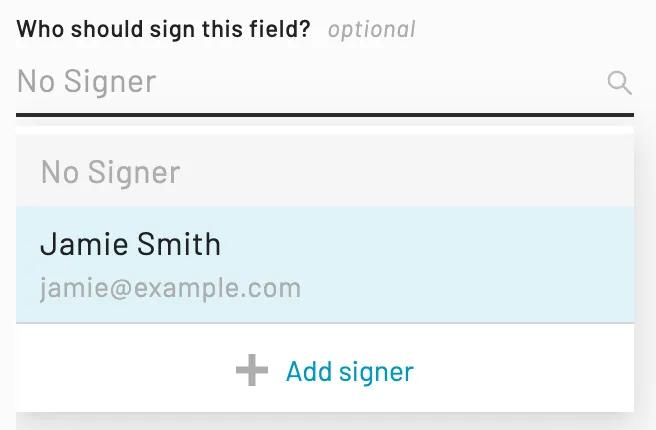
- Click the dropdown menu under Who should fill this field?
- Select the relevant Signer
Set up Interactive signing
If you need to collect new information, you can set specific fields to be filled by signers. Once the Etch packet has been sent out, signers will be guided through their fields in the order in which they appear in the document.
If you have multiple fields that need to be filled with the same information, make sure they have the same field alias. Field aliases help to automatically map the same information across multiple fields.
For example, if your signer needs to provide their address across different pages and documents, you’d assign each address field the same field alias. Once those address fields have been assigned to your signer, they will only be asked to fill in their address once. Anvil will then automatically map the provided address across all the address fields. For more information about field aliases, check out this blog.
To set up interactive signing:
- Navigate to your Etch packet
- Select the field you want a signer to fill

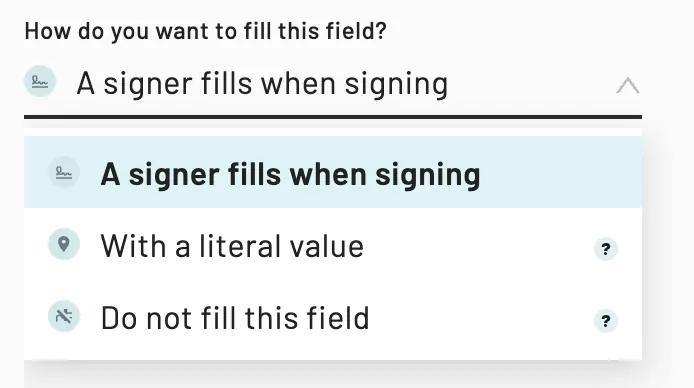
- Click the dropdown menu under How do you want to fill this field?
- Select A signer fills when signing from the dropdown menu
- Choose the relevant signer from the dropdown menu

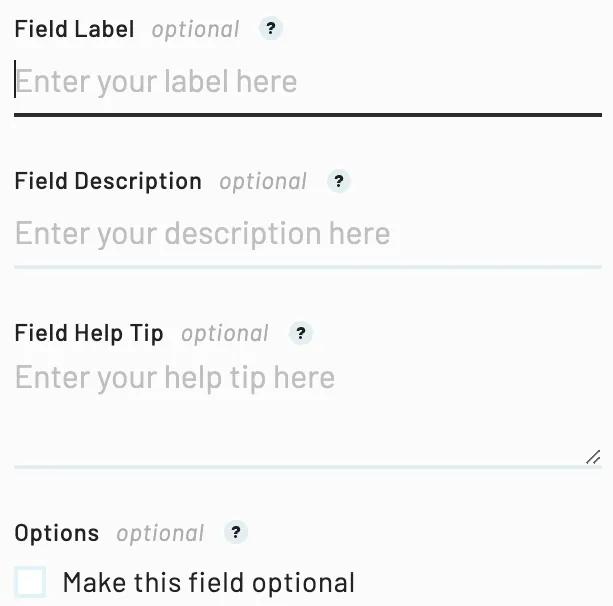
- Optionally set a Field Label, Field Description, Field Help Tip, and/or Make this field optional
